Teaching online is a hurdle we are all facing right now as dance teachers. It’s something that comes naturally to some, but most of us are in a whole new world. I’d like to offer support to all of you; you are real champions for taking on this challenge to press forward with teaching as we all face the shelter in place or quarantined conditions of today.
If you are new to Zoom and virtual teaching, never fear! Check out the Zoom Basics for Teaching Ballet Online article from The Ballet Source to get all the technical pieces in place first. Then, you can begin to schedule and prepare for teaching your classes live or pre-recording using some of the best practices I’ll share with you below.
Create a Calm, Neat, and Tidy Setting
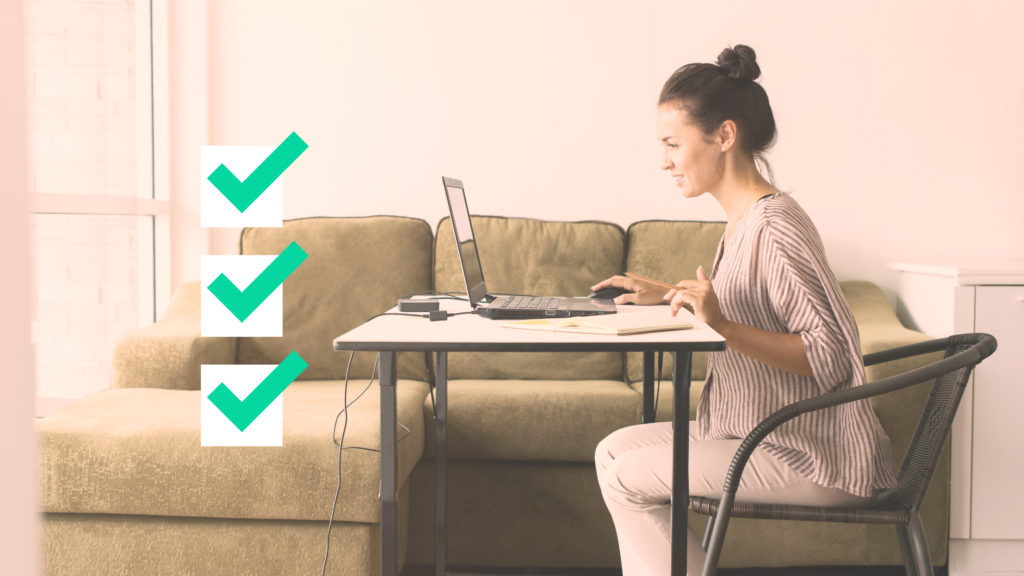
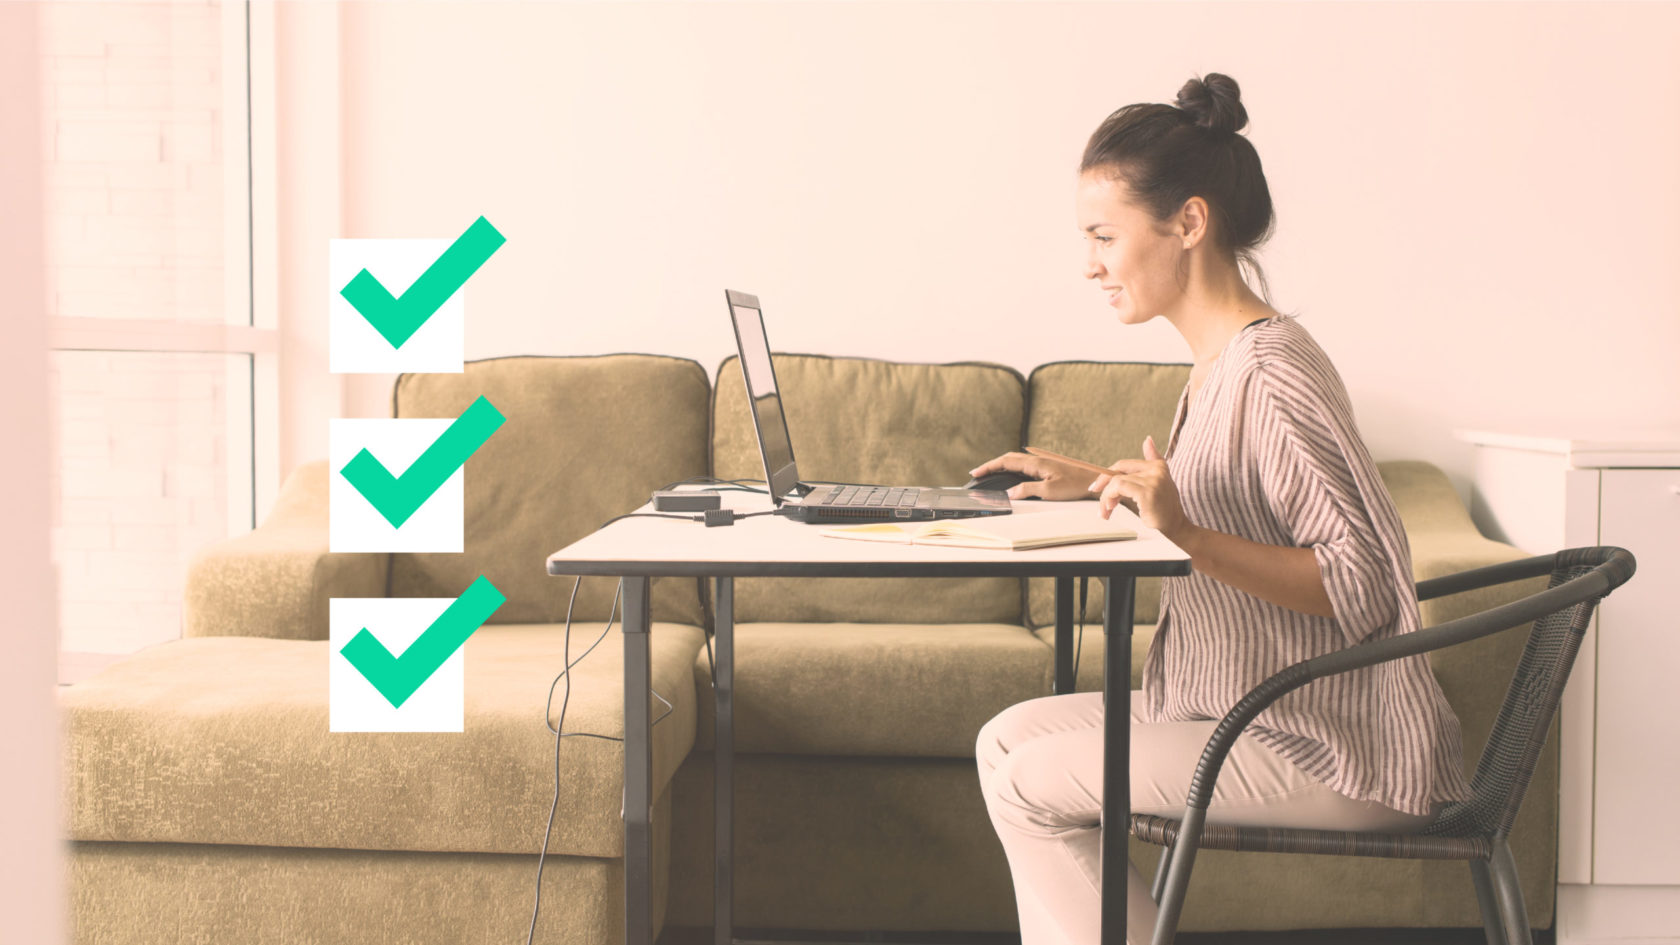
I’d like to share some “Zoom Etiquette” that will help increase the quality and user experience of your Zoom classes. First of all, remember what’s in the background of your video. If you are simply talking to your students and are not planning to do any demonstrating, you may decide to sit in your bedroom where it’s quiet and you won’t be interrupted. Of course, this is perfectly reasonable, just make sure that your background isn’t dirty clothes or your untidy closet space. We are all in this together, so it’s definitely not wrong to be real and transparent about what life is like for you, but, for the sake of your students, try to choose a place in the room where you can appear as neat and tidy as possible. This will put them more at ease and not distract them. Also make sure that you close the door to any pets that may decide they want to take ballet today, and have something for your kids to do while you are teaching, if possible.
If you are planning to demonstrate, you may have to temporarily move some furniture around so that your video frame shows as few pieces of furniture, lamps, tables, artwork, etc. as possible. It may even be worthwhile to figure out a way to create a makeshift backdrop (a bed sheet or blanket) for the time being. A nice, clear, open space allows the students to focus on you and be better listeners in a situation that is already new and distracting. Set up your laptop to be at a good height so that, when you step back to show something, you can be fully seen, head to toe, in any given moment.
Lighting
Good lighting is often underestimated. Of course, most of us do not have professional lighting equipment at home to be able to establish the most picturesque of lighting situations, but many of us do have some degree of access to the beautiful natural light coming through our windows. If possible, put the back of the camera to the window so that the natural light is shining on you with as few shadows as possible. This will make you look happier, brighter, and neater which will be more attractive to your students watching.
If a natural lighting situation is not possible, follow some of the basics of good video lighting:
- Try not to have any light source behind you which would shine light straight into your camera.
- Don’t position your light in a way that would create too many shadows (too low or too high).
- If possible, set your light source right behind your camera and shine it toward the filmed space. Adjust as needed throughout your filming.
Sound and Audio Settings
There are two parts to the sound discussion. The first is the sound of the music that you are planning to play. I am not going to explore the many various ways one could approach this; instead, I will suggest what is most likely readily available already to the majority of my fellow teachers.
Many of us use the music players on our laptops in class. Others use phones, iPads or other mp3 devices. I would recommend using external speakers for this case, if at all possible. If your music is on your phone, play the songs through Bluetooth to a set of Bluetooth speakers. Place the speakers near your computer to pick up the sound, but without being too overpowering. You will need to test the volume. Play the music, hit the record button at the bottom of your screen, practice talking over the music, stop recording, and then go back and view the test video to see how the sound is playing. (Check out this article for steps on how to record videos.)
The second consideration is how you want your voice to be captured in the video. You can use the built-in microphone on your laptop or computer, a set of headphones that plug into the headphone jack, or you can use AirPods or another kind of wireless headphone. I recommend using the latter, if you have them, so that you can step away from your laptop and still be able to capture your voice with the best sound quality. Second choice would be to just use the built-in microphone, since you don’t want to have to plug in and unplug your headphones several times during the teaching session.
It may also be good to note that your students should be muted as they listen to you teach, should you choose to approach it that way. Since there will likely be a slight lag in the connection, various voices trying to talk at once (as will be the likely scenario with the younger students) can be very distracting and frustrating. If your students are older, they can turn the audio on and off easily, but for your younger students, you may have to manage the audio yourself and mute/unmute them (see how to do this here).
If you have any trouble with the sound, you can always tinker with it in Preferences > Audio.
Live? Or Pre-Recorded?
Whether you choose to spend time on Zoom with your students live or pre-record and send out links to your videos is entirely up the teacher/studio, and will depend on the age of the students, the maturity of the students, the material being covered, and how urgent the learning is. For example, if your class is 3 and 4 year-olds who are meeting once a week and have a 2-minute performance piece they are learning for a recital in June, there is not as much urgency to do a lot of heavy learning in the session. Their world has turned upside-down, and the stability of seeing their beloved ballet teacher will mean more to them than anything you teach in your lesson. Other classes who have a heavier class load, meet more often in the week, have performances with multiple pieces, etc. will need to spend more time actually practicing and learning from you in these Zoom sessions. The intensity and intentionality of the sessions is entirely up to you and what your studio has designated.
However, in my situation, I’m going to be doing a mixture of both live and pre-recorded videos. At the designated class time, I plan to “go live” with my students. We will all click the same Zoom link (which you will have set up and emailed to them in advance) and do a brief 10-15 minutes of connection time. With younger ones, this could be entirely “story time” where they share what they ate for breakfast or found under their beds this morning. For others, you may decide to read a ballet/dance-related storybook to them, screen share and watch a dance video (see how to do this), or just talk about how they are feeling. You’re their teacher, and these few minutes of talking time are absolutely priceless to the students you love and care for each week.
For the actual class work, I plan to pre-record the exercises I would like them to practice and also the choreography they can practice at home. To do this, I will use the record feature on a Zoom call by myself. You can pause a recording in between exercises, if you’d like, to get yourself together and cue the music for the next exercise, or you can just record the whole thing, talking in between as you would in person. Up to you! Then, when the class is all done, I’ll close the window and the video will begin to load to the Zoom Calls folder in the Documents folder on my Mac. You can choose to save your videos wherever you’d like, and it may be a good idea to investigate saving them to a Google Drive or Dropbox folder provided by the studio so that your machine doesn’t run out of data storage. Videos take up a lot of space on a hard drive.
After that, you’ll want to share your video. You can simply email the parents of your students with the link to today’s pre-recorded class. If it’s Dropbox or Google Drive, you will simply control-click on the link and select “Copy” to copy it. Paste the link to the email by control-clicking somewhere in the email and select “Paste”. If you are using Google Drive, you may have to change the sharing settings on the file to “Anyone with the link can view” so that there is no problem for your students trying to access the video. Simply control-click and select “Share” to change the settings. This is not an issue with Dropbox.
I hope this has helped you navigate Zoom a bit better and better prepared you for teaching your classes online. Here are some more resources for those of you just diving into virtual teaching:


Comments
Brent J Applington says
Thank you.
My wife teaches Scottish highland dance and we are trying to setup online classes. But just wanted to say thank you for taking the time to help everyone out there who is trying to keep some kind of norm in this hard times. stay safe and healthy
Pam White says
Thank you for your simple breakdown of how this works and what small but important factors to consider. I am choreographing a children's theater musical production. This is a first for most of us but am so thankful the theater I work is willing to give technology a try for our students this season. It's a huge lift for our creative team, especially for those of us who aren't "techies" but everyone seems excited to explore the possibilities. I will share your article with my team. Thanks!
Add Comment